| api | ||
| doc | ||
| ui | ||
| .dockerignore | ||
| .drone.yml | ||
| Dockerfile | ||
| LICENSE | ||
| README.md | ||
OVDashboard
A fancy dashboard for use in a THW-Ortsverband (OV).
Key Features
-
Clean Look
All that matters, at one glance!
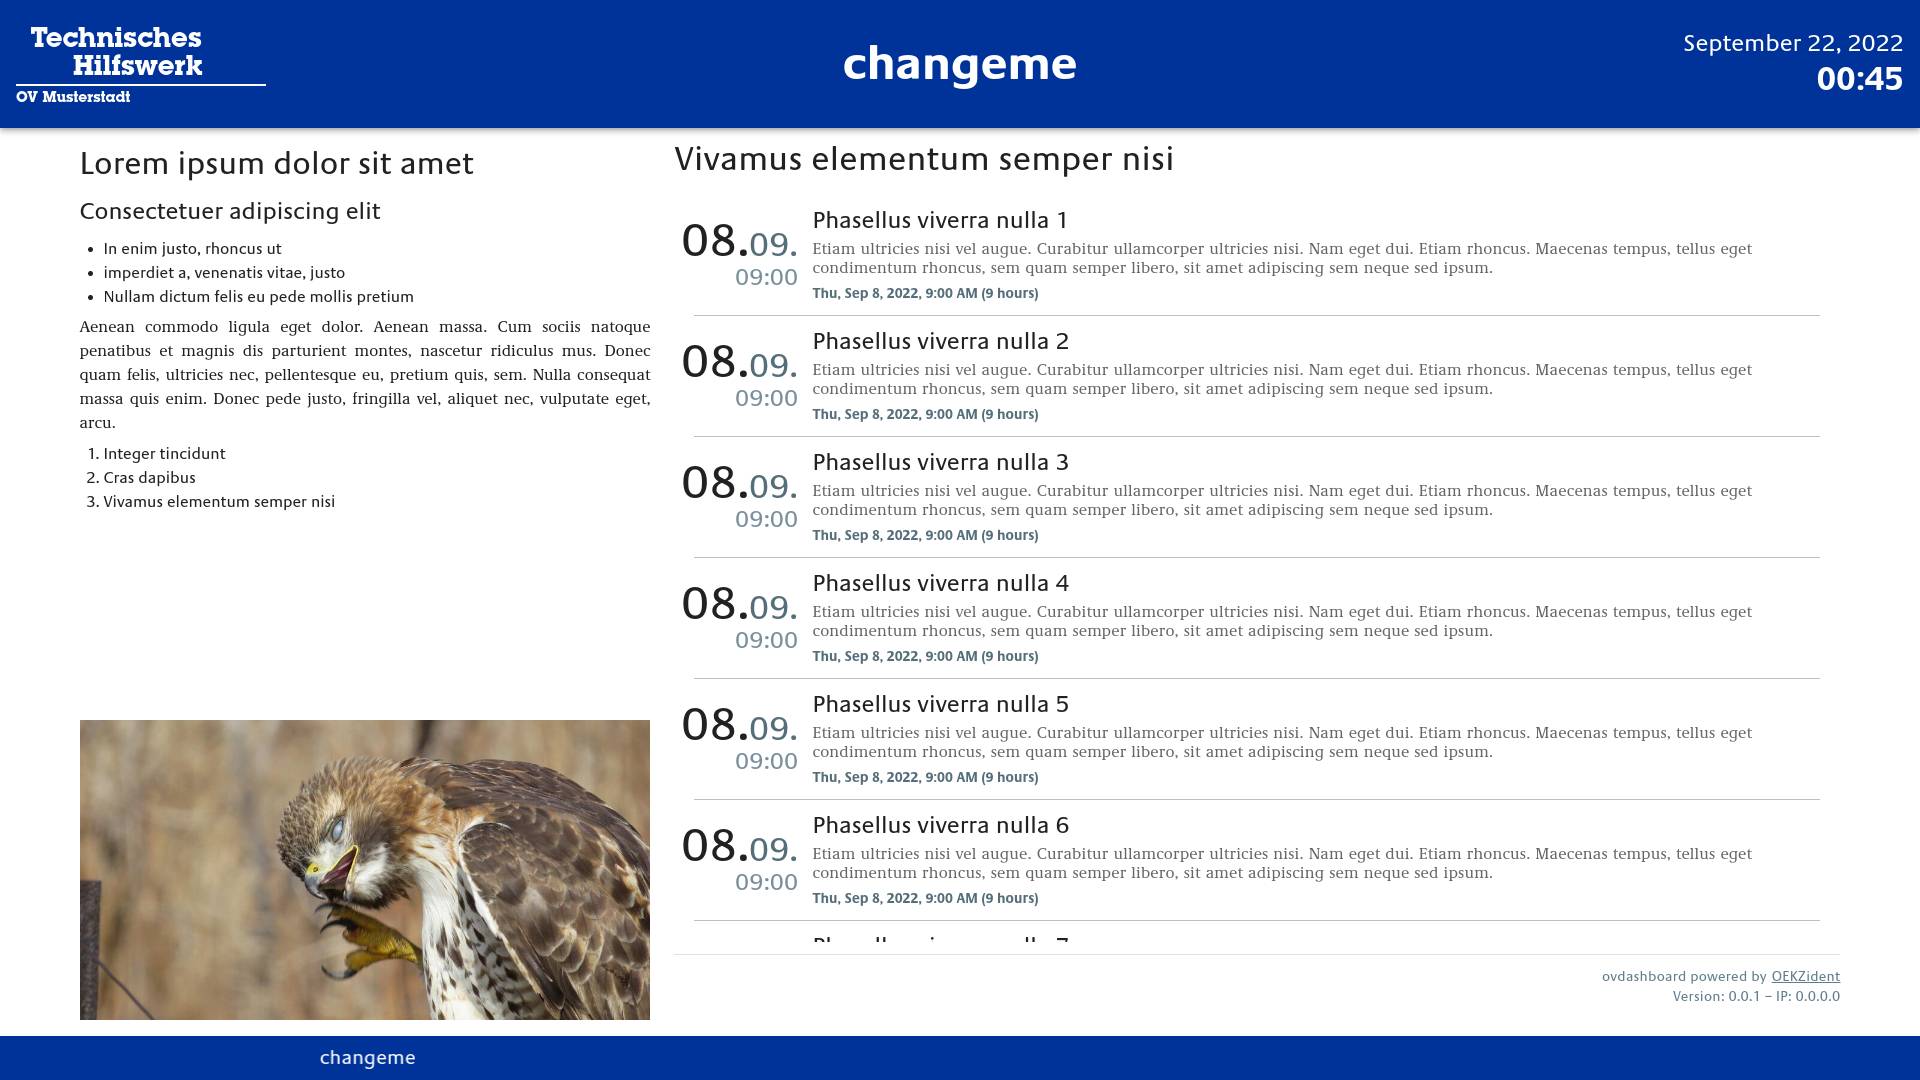
Date and Time – Upcoming Events – Public Announcements – News – Pictures -
Easy Install
Set up a RaspberryPi, run the installer script, done! -
DAV Server Interface
Update your content anytime, from anywhere! Basic Markdown is enough!
Already have a Nextcloud instance? OVDashboard will take it from there! -
Customizable – Yet Always Recognizable
Change the Logo – Put your own Title – Publish Pictures – Create Event Lists – Customize the News Ticker Appearance – Adjust Item Rotation Speed -
Responsive Design
OVDashboard is made for the big screen – but it also shines in your visitors' mobile browsers! -
Locale Aware
No static strings anywhere – formats generated using Luxon, which respects your browsers' settings! -
Hackable
The Dashboard UI is created using Vue and the Vuetify UI library.
Like my layout, but want it for something completely different? Fork me!
Quick Start
Make sure you have a WebDAV and CalDAV server available. For an all-in-one solution, consider setting up an account on a Nextcloud instance!
The intended installation method is as follows:
- Have a Raspberry Pi (3 or later) connected to a HDMI screen
- Boot up "Raspberry Pi OS 64 bit" (lite) and connect the Pi to your local network
- Download (and review) the OVDashboard installer, then run it from a terminal
If you feel adventurous and want to skip the script review, run curl --proto '=https' --tlsv1.2 -sSf 'TODO' | sh instead.
For a better understanding of your newly created OVDashboard, refer to the about section.
Setup for development and contribution
Refer to the specific README files for the API and the UI to contribute to one of those sub-projects.
About the "default" OVDashboard deployment
The default deployment is made up of three parts: The installer which runs once, prepares your device for OVDashboard usage and deploys the client and the service.
The client will connect to and display your OVDashboard.
The service will run continuously and makes sure your OVDashboard is up to date.
The OVDashboard installer will:
- install some general-purpose packages
- make you set a new password, if you haven't yet
- install and set up Docker Engine and Mozilla Firefox
- (optionally) enable SSH and/or VNC access to your device
- create the OVDashboard configuration directory
/usr/local/etc/ovdashboardon your device - set up the OVDashboard service
- (optionally) set up your device to auto-run the OVDashboard client
The OVDashboard service will:
- regularly pull the latest
dockerimage fromTODO, containing both the OVDashboard API and UI - ensure a container of that image is always running, using your OVDashboard configuration directory
The OVDashboard client will:
- open Mozilla Firefox in full-screen mode and open the local OVDashboard UI
- enable auto-hiding your mouse cursor
